NetBird is a mesh peer-to-peer VPN solution that basically rivals Tailscale. Currently running Tailscale for my personal devices, I find it is a well-developed solution that really does what it says it does. The PC client is reliable, except a little quirks here and there, but really does the job.
Both solutions operate on the following principles:
- The actual VPN uses WireGuard, a simple and powerful encrypted tunneling protocol, the most powerful out there, designed to be stateless (proves to be relevant in this use case)
- A controller or management server keeps track of the public keys for each node
- A service keeps track of the different ways to reach peers (public IPs, interface addresses, punched ports…)
- In Tailscale’s case, each node of the network pings the control plane with this metadata
- In NetBird’s case, a separate Signal service keeps track of this
- A swarm of relays to help when direct communication fails
- With Tailscale (or the barebones self-hosted Headscale server), there’s a huge swarm of relays. While they’re not designed for throughput or low latency, their number proves that you’ll never have an issue with them.
- With NetBird, if you choose the self-hosted option, you’re on your own: you’ll need to spin some relays to keep the party going when P2P inevitably fails.
Seeing that both solutions were similar, I decided to give NetBird a shot. You’ll find a brief summary of my experience here.
Installation process
The NetBird clients (agents) are extremely easy to install. But this isn’t about installing software on your end devices, because that’s always easy (except some routing shenanigans on Linux, but this varies extremely based on your setup).
The real hassle here is dealing with the self-hosted server. At the time of installing (june ‘26), NetBird has the following options:
- use the all-in-one
netbird-serverthat bundles the webUI, API, relay, STUN and TURN servicees in a single container - use the “legacy” (?) approach, with one container for:
- the web UI
- the management service (API)
- the signaling service
- the relay (TURN)
- a coturn server (STUN)
Wanting to get more control, I took the “legacy” approach, which appears to be still supported (because it is the same codebase?). After reading through the documentation, I found out that you could replace the coturn server with an internal STUN server in their relay software.
After a couple of thorough passes in the official docs, which are clearly lacking, I embarked on a journey to install the entire stack. First, you’re supposed to enter values in a setup file, which is read by a script provided by the documentation. The script then outputs a Docker Compose stack and a file named management.json, the latter of which has got no documentation available. Pretty lacking for the central configuration file of your server.
Time out! You will probably need your own authentication server that speaks OAuth2/OIDC. Up until recently, NetBird did not have internal authentication support. Due to what I think is a “in-development project”, I’d rather have my central auth do the job. You may read somewhere in the docs that NetBird needs a service account to log in to your IdP: this is not a requirement.
Then, you’re supposed to wire this up to the internet. There’s examples for Nginx, Traefik and Caddy, but not for Apache2 or even HAProxy. One thing the docs tell you is that the entire app is extremely sensitive to the kind of HTTP traffic it receives. “API endpoints” require h2c (HTTP/2 without SSL), while the other endpoints use websockets or standard HTTP calls.
For the HAProxy users, here’s a trimmed down config (tune it to your liking):
defaults
    # Required to allow long-lived gRPC connections to the NetBird services
    timeout client 24h
    timeout server 24h
    timeout tunnel 24h
    timeout http-request 24h

frontend http
    mode http
    http-request redirect scheme https code 301

frontend https
    mode http

    # HTTP/2 is mandatory with netbird
    bind :443 (your ssl cert...) alpn h2,http/1.1

    option forwardfor

    (...)

    use_backend netbird_mgmt if { path_beg /api/ }
    use_backend netbird_mgmt if { path_beg /oauth2/ }
    use_backend netbird_mgmt if { path_beg /management.ManagementService/ }
    use_backend netbird_mgmt if { path_beg /management.ProxyService/ }
    use_backend netbird_mgmt if { path_beg /ws-proxy/management }
    use_backend netbird_signal if { path_beg /signalexchange.SignalExchange/ }
    use_backend netbird_signal_ws if { path_beg /ws-proxy/signal }
    use_backend netbird_relay if { path_beg /relay }

    default_backend netbird_ui

backend netbird_ui
    mode http
    server dashboard (dashboard container ip):80 check

backend netbird_mgmt
    mode http
    server mgmt (management container ip):80 check proto h2

backend netbird_signal
    mode http
    server signal (signal container ip):10000 check proto h2

backend netbird_signal_ws
    mode http
    server signal_wstunnel (signal container ip):80 check

backend netbird_relay
    mode http
    server relay (relay container ip):80 check
After suffering with debug to find out that my proto h2 hadn’t saved, I can finally get my peers to log in.
The… same feature set
Apart from being self-hosted, both providers share the same features. Both have ACLs, ingress from the web straight to your network, authentication keys, remote access with audit logging… so in the end it’s up to whoever provides a better service.
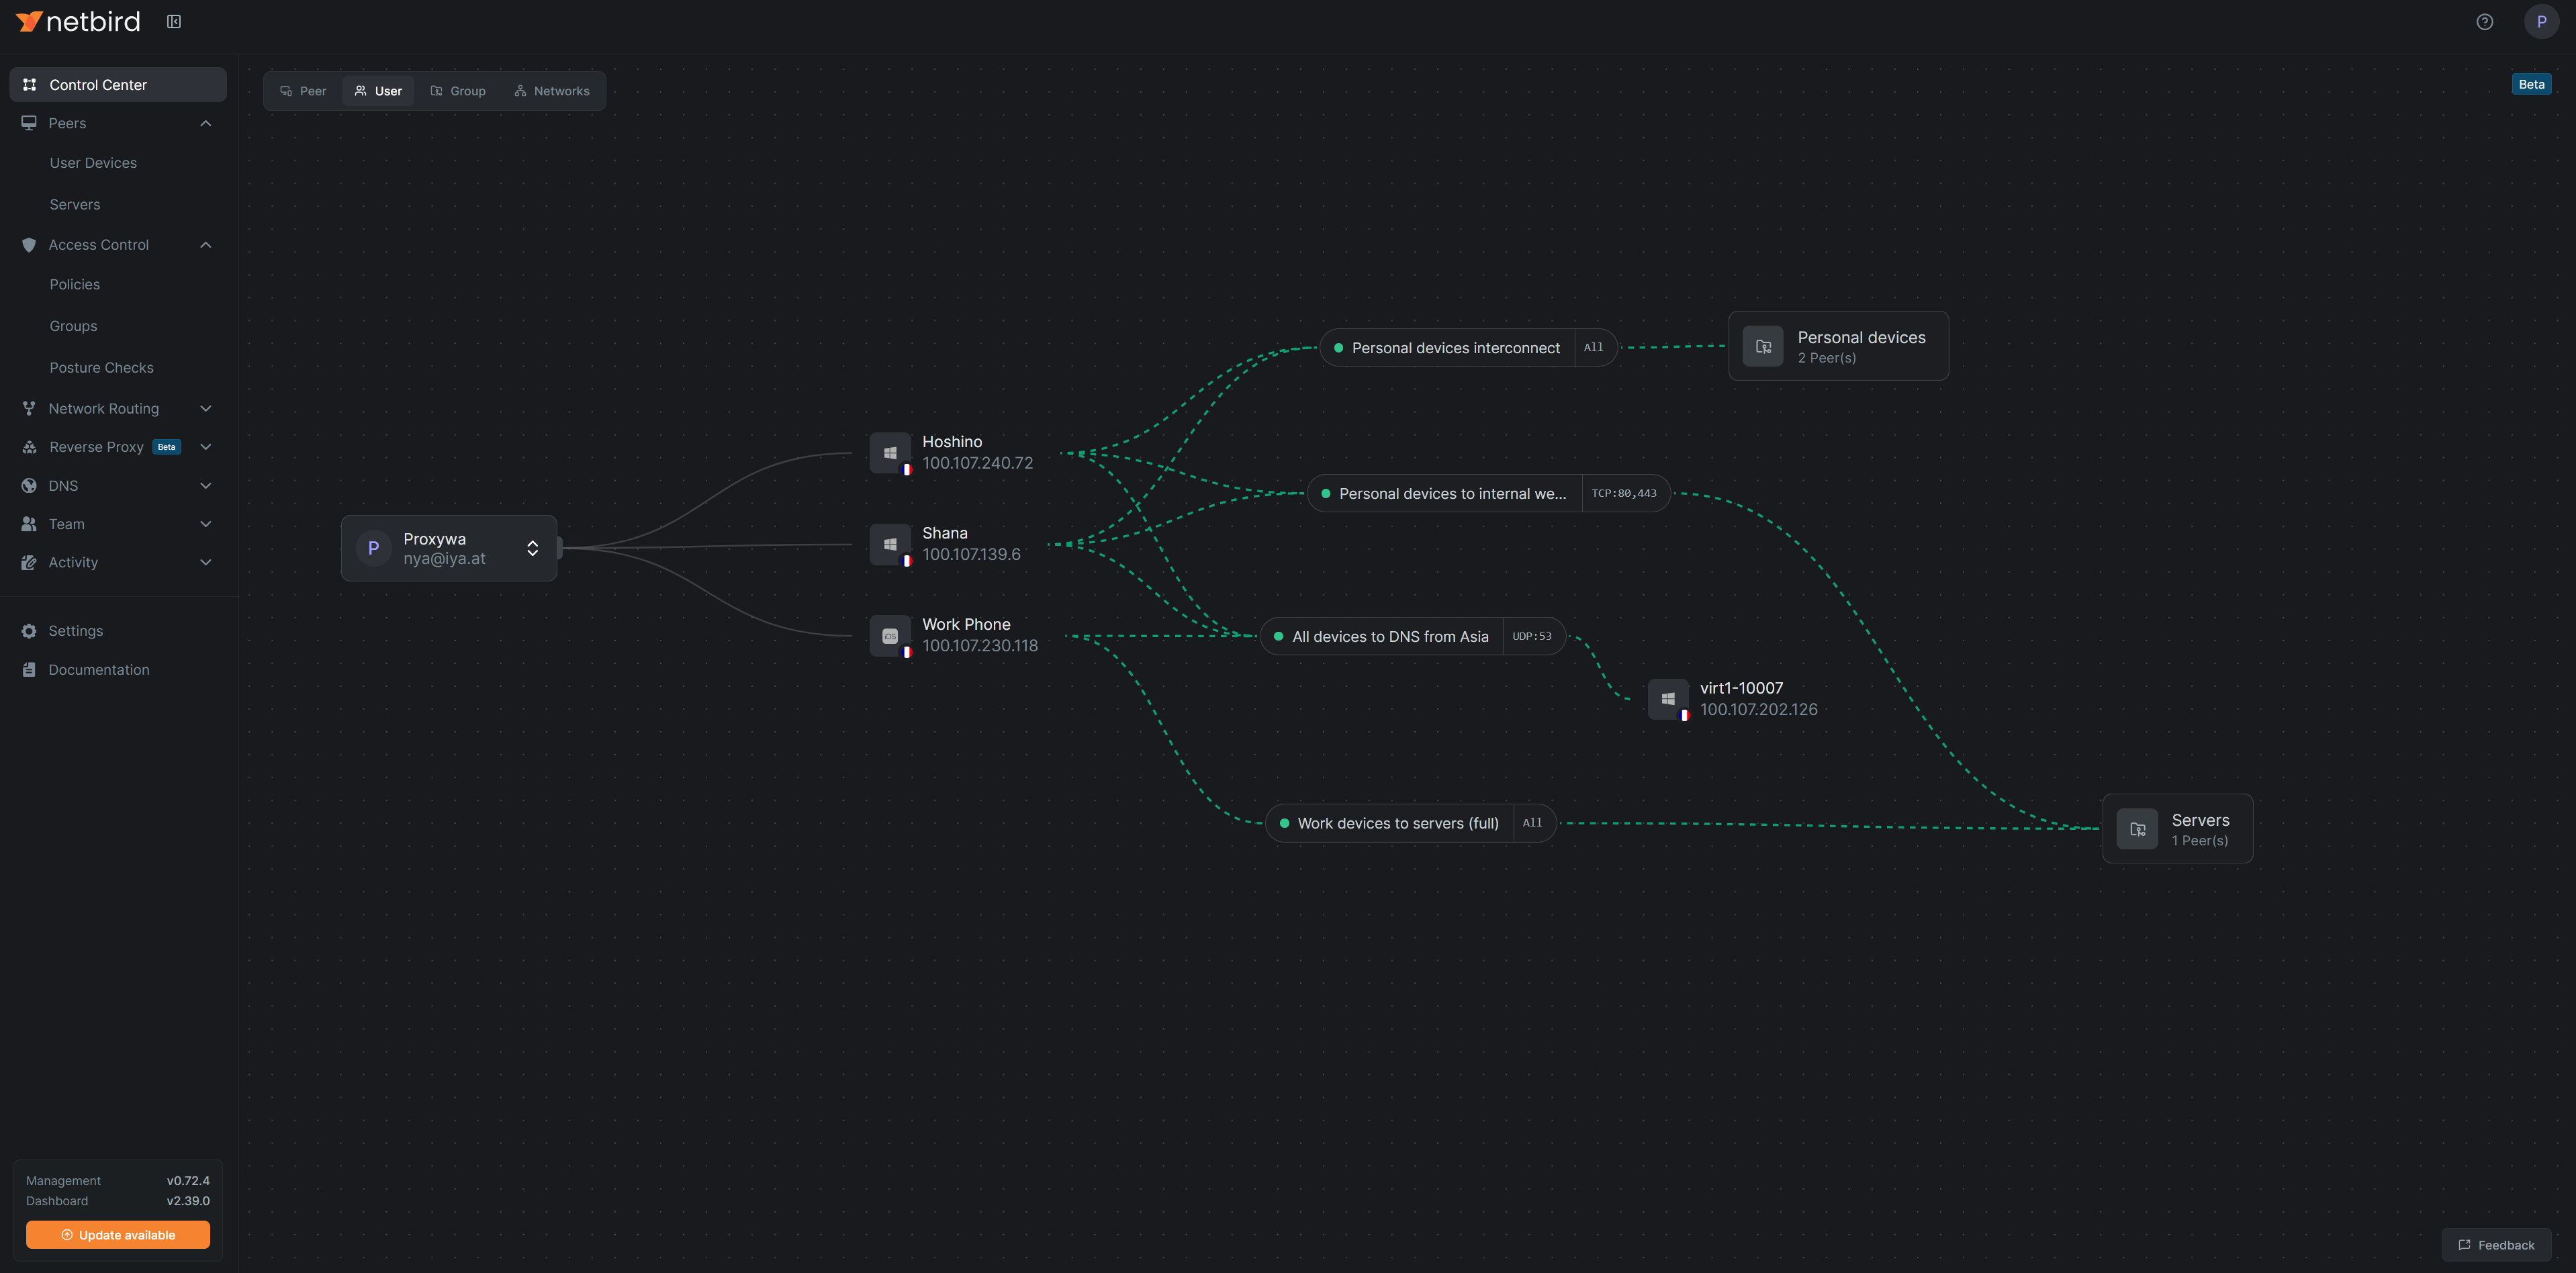
The UI on NetBird is very clean and intuitive. You can even visualize the flow from different perspectives. Have a look:
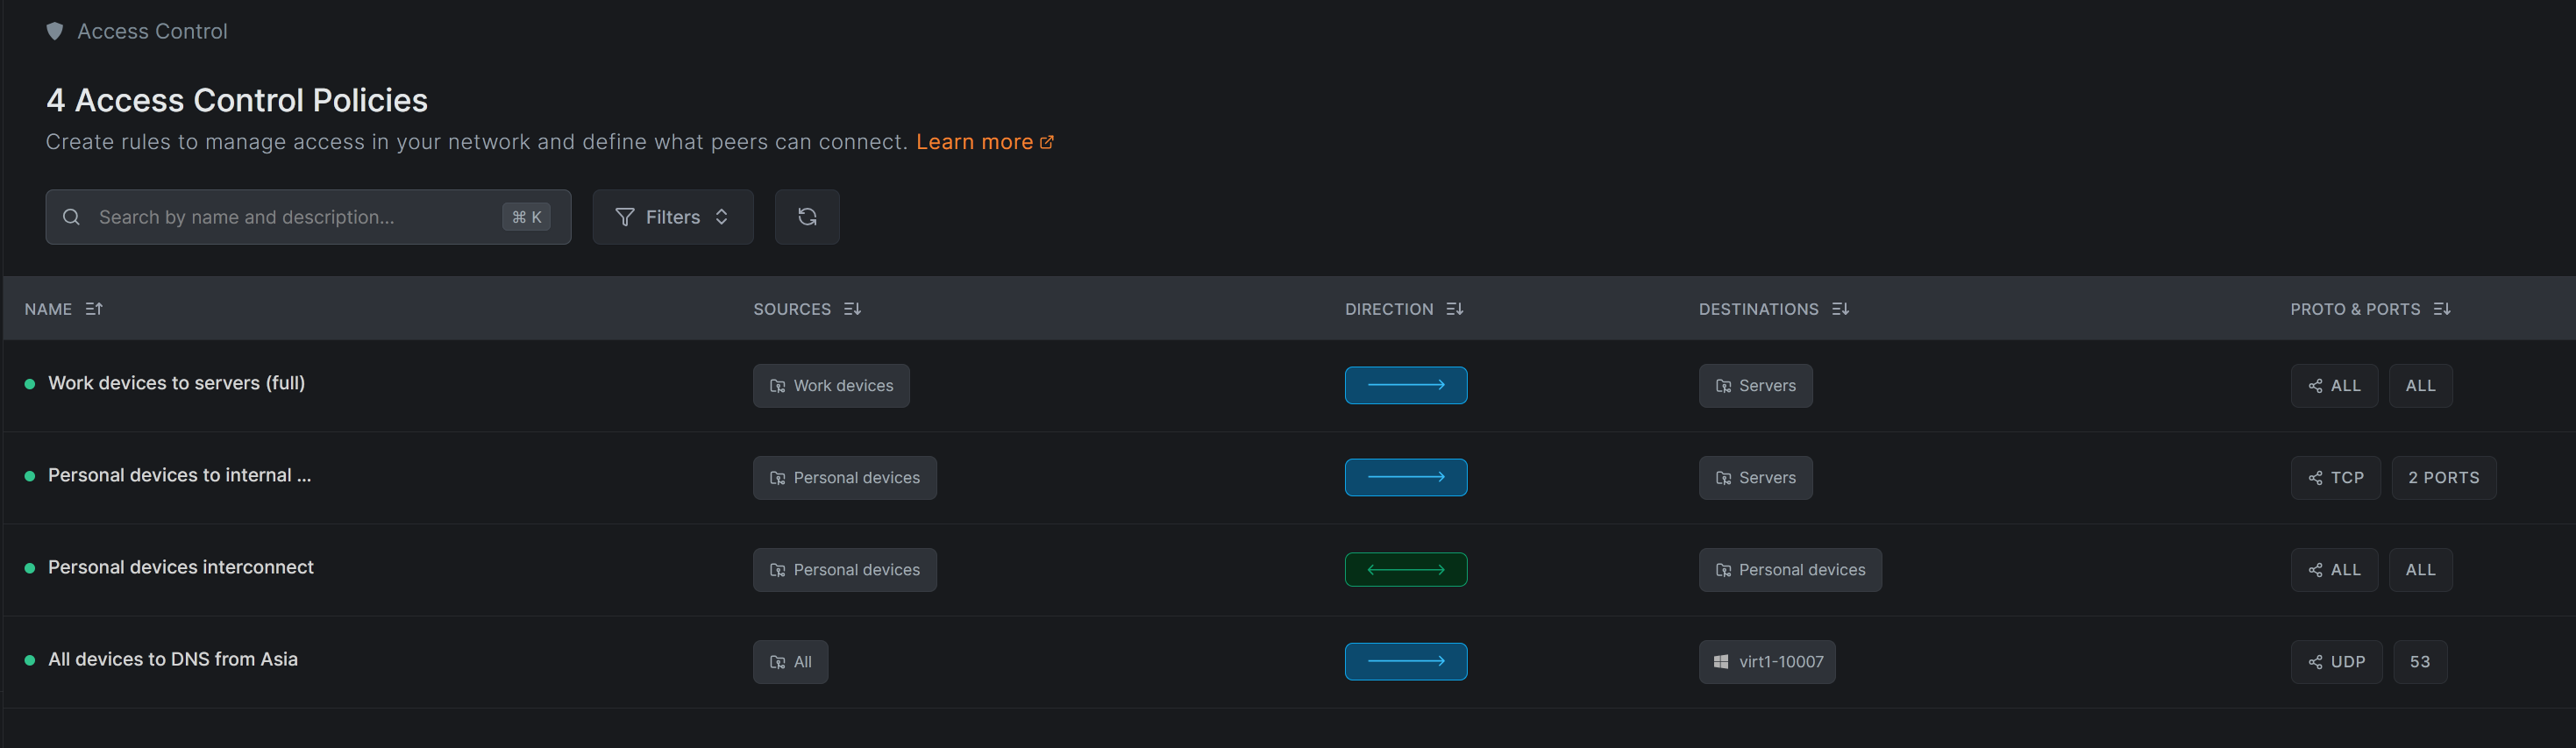
Here’s how you configure ACLs on NetBird:
As a reminder, Tailscale’s ACL policies are managed by tags on nodes and was originally JSON-only (this still applies to Headscale). Nowadays, Tailscale has an editor that feels unintuitive:
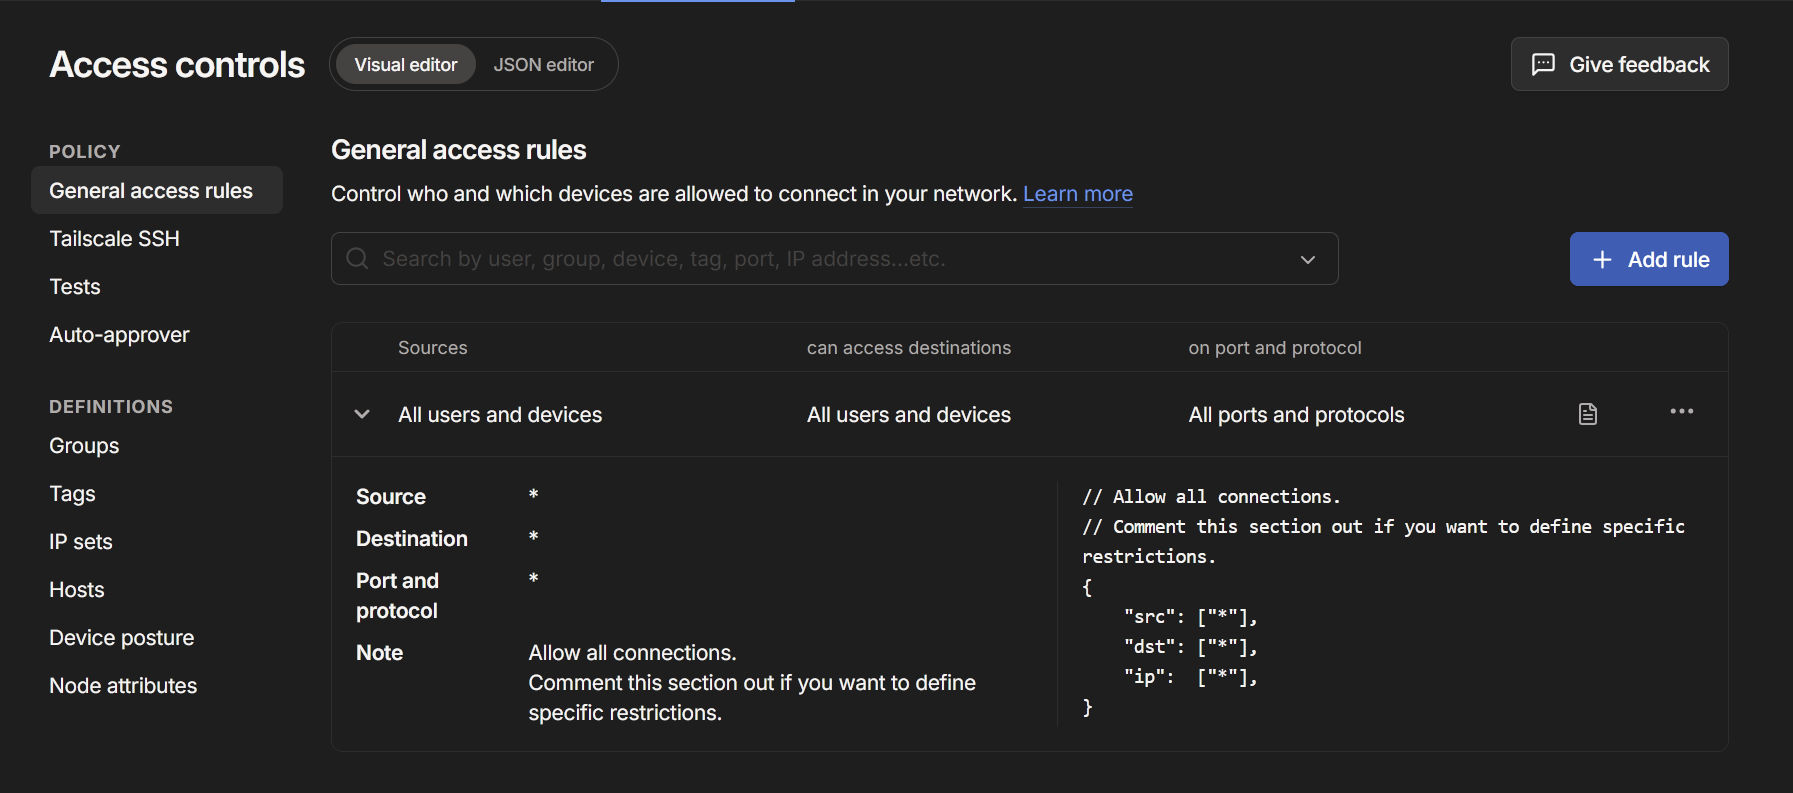
So, yeah, UI for the win!
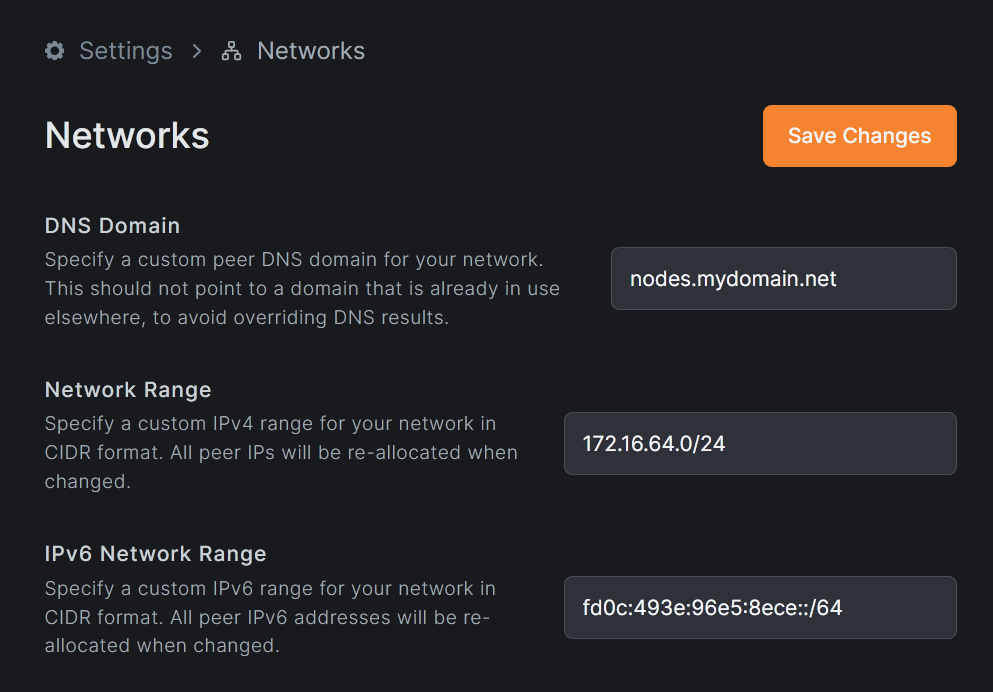
NetBird also has a trick up its sleeve: you can input your own network range and aren’t limited to the CGNAT (100.64.0.0/10) range:
You can also host your own ingress clusters for proxying, even on the self-hosted version. Management is also more centered, via the web interface. You do not need to connect via shell to your peers in order to update routed CIDRs and then back to approve them.
Overall it feels like NetBird is a well-finished product, that’s if you don’t try to get any kind of high availability for the control server. Only the relays and the ingress servers (for the web proxies) are HA-able. The signaling and management services are clearly not designed for HA from the start. You might be able to succeed using an active-passive infrastructure type, though.
My dreams are now broken
The peer-to-peer is not working. It is very unreliable and does not appear to find routes between my devices when they’re not on the same network.
Here’s what I tested:
- Laptop ⇐
usb tethering⇒ Phone ⇐LTE/5G⇒ (internet) ⇐FTTH⇒ Home router ⇐Fiber⇒ Home PC - Server ⇐
fiber⇒ DC router ⇐> (internet) ⇐> other DC router ⇐fiber⇒ Server
Basically, if your devices lack a public IP on both sides, your connection will be relayed for very long. The second scenario ends up connecting after a couple hours, and the first scenario never did connect, which makes it very unreliable. These issues did not happen with Tailscale. Although Tailscale’s relays are as good as they get, their software has a better time punching holes to make things work.
While trying to troubleshoot this, I came across something that bothered my mind: the signaling server does not enforce any authentication. The application does not even authenticate, allowing anyone to use your infrastructure to whatever extent this permits them. You also cannot specify different credentials for each TURN server, and it also appears that you cannot use custom TURN servers, you’ll have to keep using their relay software.
Due to these issues, I have stopped testing. Hoping that maybe some update patch these issues in the future… if it does, I’ll keep you updated. But looking at the current state of things, I find it hard to put all my eggs in the same basket and call it a day. With over a thousand open issues on GitHub and the lack of maintained documentation, it looks like it is leaving the WIP stage.
I’ll give it a shot for very different use cases once I find a way to correctly setup HA.